Implementing a CI pipeline on ECR Repository

Introduction
Project Link: https://github.com/realexcel2021/ci-ecr
This article explains how to implement a CI (Continuous Integration) pipeline on your ECR image. It will explain how this can be achieved using GitHub actions as the CI tool to build and push the ECR images in the pipeline. We'll demonstrate a demo of this, by a frontend and write Dockerfile for the frontend deployment, then push new versions of this image to ECR automatically based on events on the GitHub repository.
ECR in a Nutshell
ECR (Elastic Container Registry), is an AWS fully managed registry where you can store docker images. Look at it like Docker Hub but this time, AWS managed service that provides what Docker Hub provides. It has many features such as encrypting images, controlling access to images and versioning these images. These registry images can now be pushed to ECR and be used to create containers out of it for application deployments, either on EKS, ECS, Docker or even Docker Swarm.
CI (Continuous Integration)
What exactly is Continuous Integration? Continuous Integration (CI) is a DevOps practice, this practice aims for developers to keep their code in a central repository and on certain events, automated builds and even tests are run. CI is the build stage of software deployments with DevOps practice.
Demo Project
In this demo project, we will create an index.html file and then write a Dockerfile. This Dockerfile will be an Nginx web server that will serve the web page.
Writing the Project Code
Create a folder where the whole code will reside and add an index.html file in the file, you can add whatever html you wish to add or paste the code below.
<!DOCTYPE html>
<html lang="en">
<head>
    <meta charset="UTF-8">
    <meta name="viewport" content="width=device-width, initial-scale=1.0">
    <title>Demo Project with ECR</title>
</head>
<body>
    <h1> this is a text ecr image </h1>
</body>
</html>
Let's write the Dockerfile that will deploy a web server and deploy this HTML code. In your created folder, create a Dockerfile and add the code inside.
FROM nginx:alpine

COPY . usr/share/nginx/html

EXPOSE 80
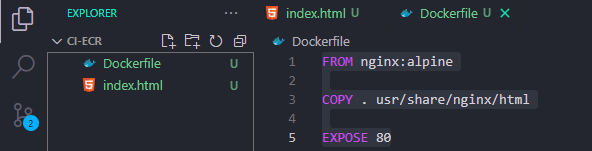
You should have a folder structure like the image below.
Push to GitHub
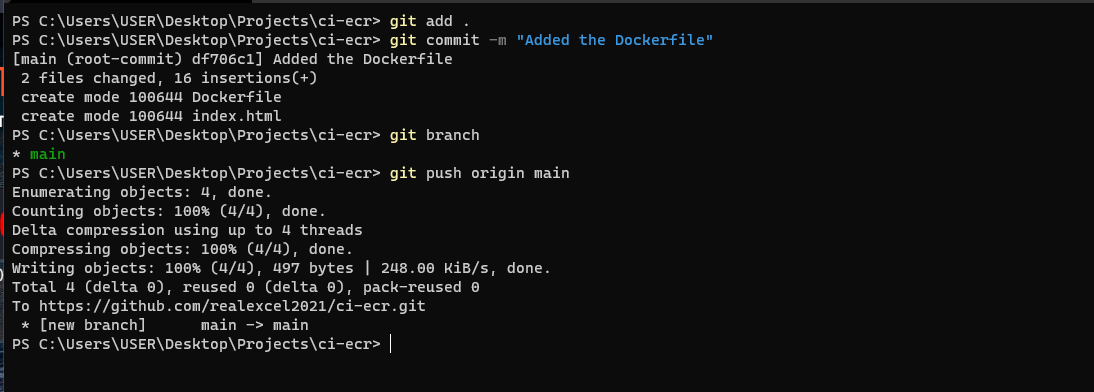
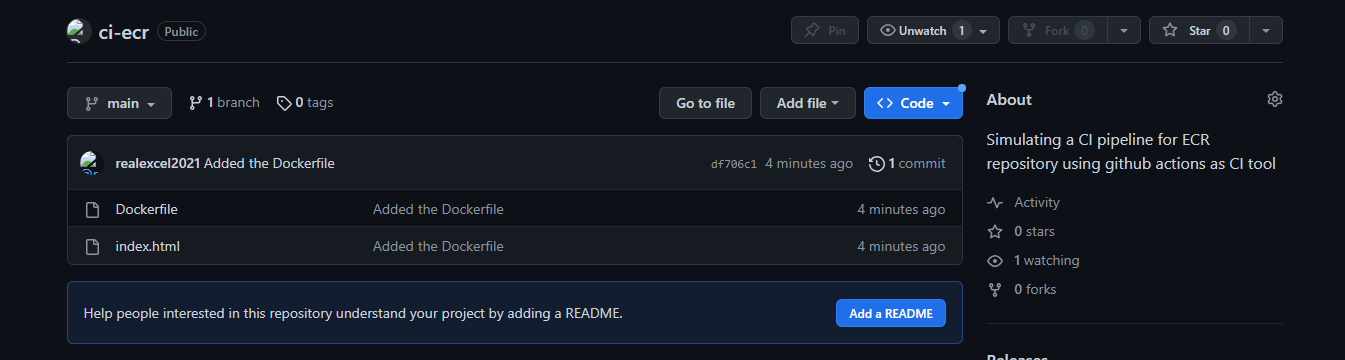
Save the files create a git repository on GitHub and push these files into the GitHub repository.
Creating the ECR Registry
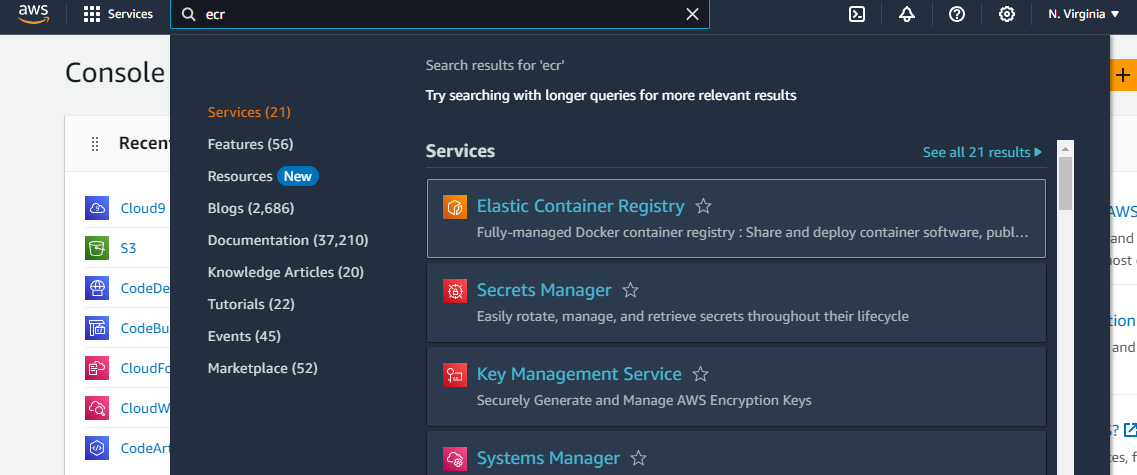
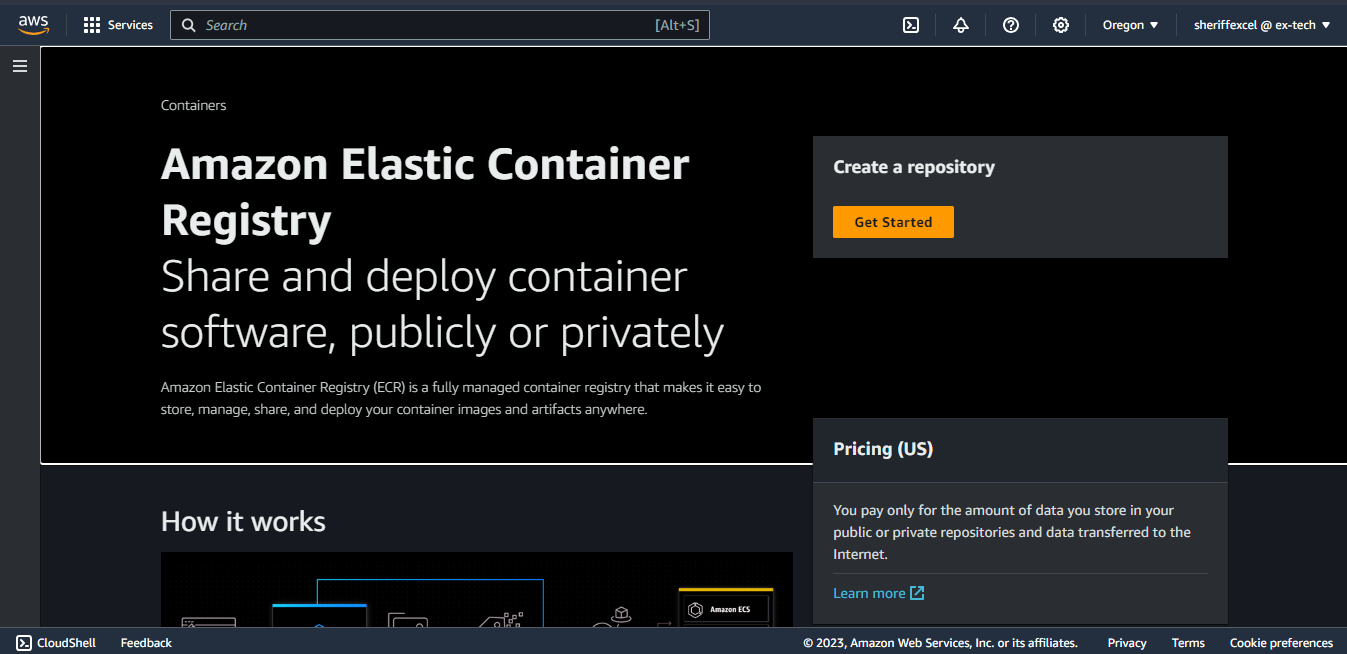
We'll create the ECR registry. This will be where we will push our docker images to AWS. Head over to your AWS account, search for ECR and click on "Elastic Container Registry"
On the console home, click on "Get Started" It should display a page that allows you to create a new registry.
Whenever you want to create a new repository in ECR, you'll select if the repository should be private or public. The public repo allows all users to pull images from the URI link of your repo. While the private repo is specifically for you and will require authentication before pulling an image. For this demo, I'll use a private repo.
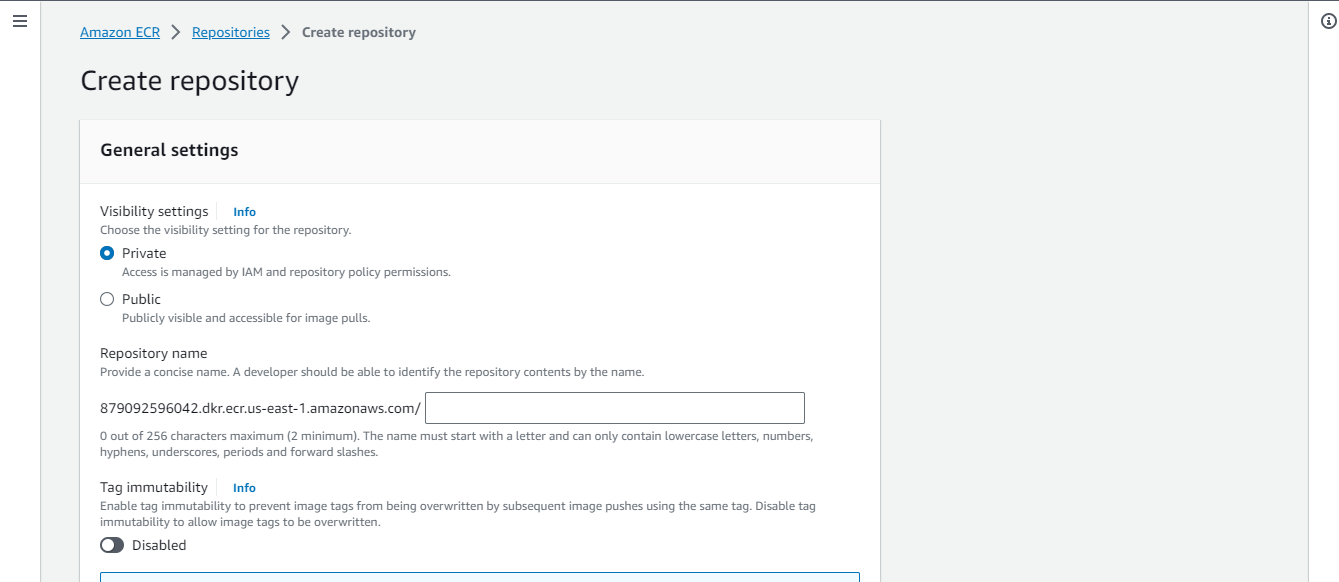
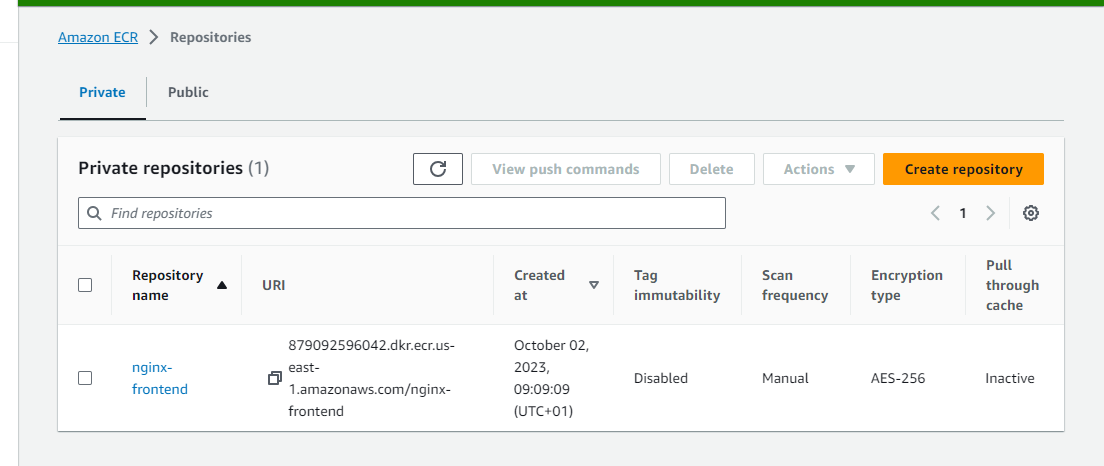
Select "private" and give the registry a name I'll name mine "nginx-frontend" Scroll down and click "Create Repository". You can see the repository below.
Adding the GitHub Actions Script
In your local repository, where you have the code and Dockerfile, add two folders and name them .github/workflows in the /workflow folder, create a file and name it deploy.yml in the yml file, paste the github action script below.
name: 'CI pipeline for ECR image'

on:
    workflow_dispatch:

    push:
        branches:
            - main

permissions:
    contents: read


jobs:

    deploy-ecr-images:
        runs-on: ubuntu-latest

        steps:

            - name: Copy Repo Code
              uses: actions/checkout@v4

            - name: Configure AWS credentials
              uses: aws-actions/configure-aws-credentials@v4
              with:
                aws-access-key-id: ${{ secrets.AWS_ACCESS_KEY_ID }}
                aws-secret-access-key: ${{ secrets.AWS_SECRET_ACCESS_KEY }}
                aws-region: ${{ vars.AWS_REGION }}

            - name: Login to ECR
              uses: aws-actions/amazon-ecr-login@v2
              id: login-ecr

            - name: Build, tag, and push docker image to Amazon ECR
              env:
                REGISTRY: ${{ steps.login-ecr.outputs.registry }}
                REPOSITORY: ${{ vars.ECR_REPOSITORY_NAME }}
                IMAGE_TAG: ${{ github.sha }}
              run: |
                docker build -t $REGISTRY/$REPOSITORY:$IMAGE_TAG .
                docker push $REGISTRY/$REPOSITORY:$IMAGE_TAG
This action script gets triggered on changes in the main branch, it is permitted to read content from the git repository, this is because we want the pipeline to access our code and build a docker image out of it.
It has a job that runs on Ubuntu. On this job, it first copies all the files from the git repository, then it configures the credentials that will authenticate it to our AWS account in the specified region. The next step, log into ECR, and inside ECR it then builds a new image from the latest repo code we have and specifies the tag to be the sha of the change we are working with. Using the sha is a good option because we are allowed to have a dynamic repo tag without any tag conflicting with another.
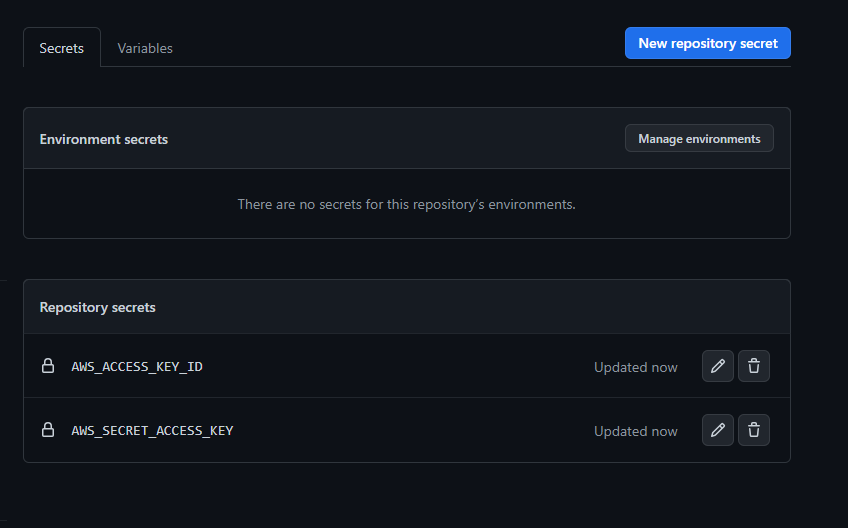
Don't push the change yet. First, head over to your repository in Github and let's add some repository secrets and environment variables. In your Repo, click on Settings > Secrets and Variables > Actions.
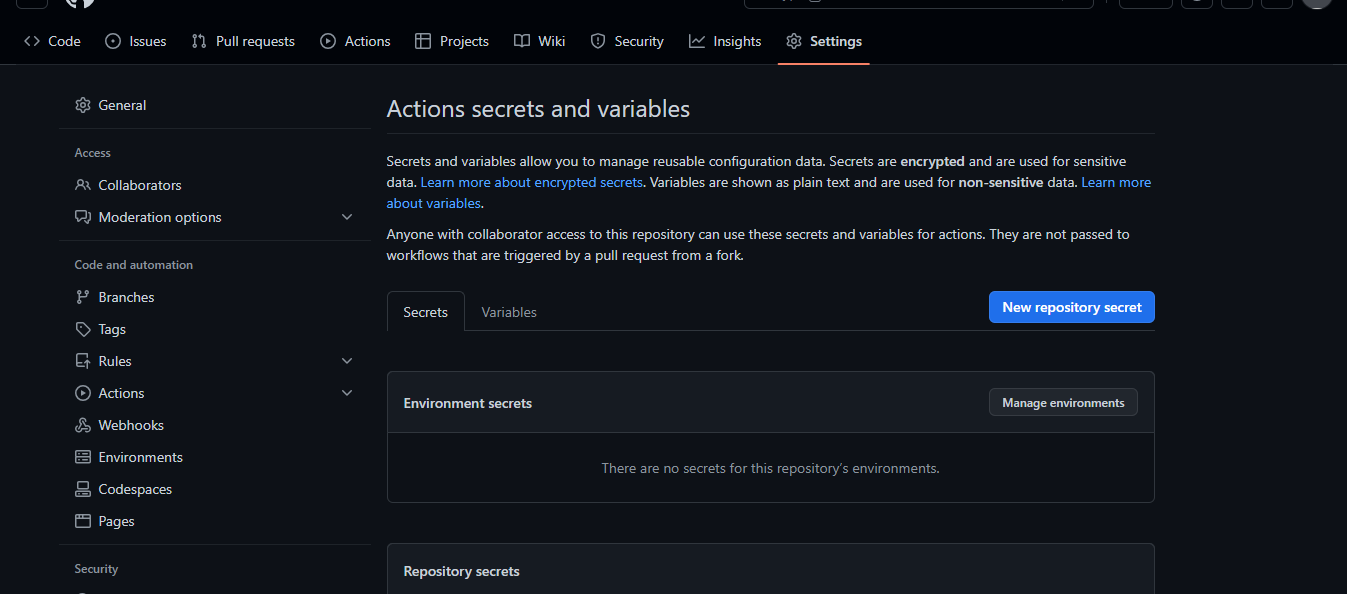
In the actions secret, create two secrets for your AWS access keys and name them AWS_ACCESS_KEY_ID and AWS_SECRET_ACCESS_KEY and place in your Access key and Secret Access key in the secrets.
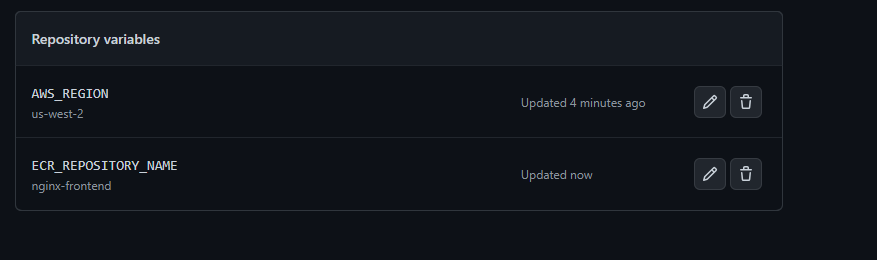
Click on the "variables" tab, and create an environment variable. The variable will hold the AWS region where the ECR repository was created. I used us-west-2 in my ECR repository. Name the variable AWS_REGION
Also, add another variable that holds the name of the ECR repository that was created earlier. I named my ECR repository nginx-frontend. Name the variable ECR_REPOSITORY_NAME.
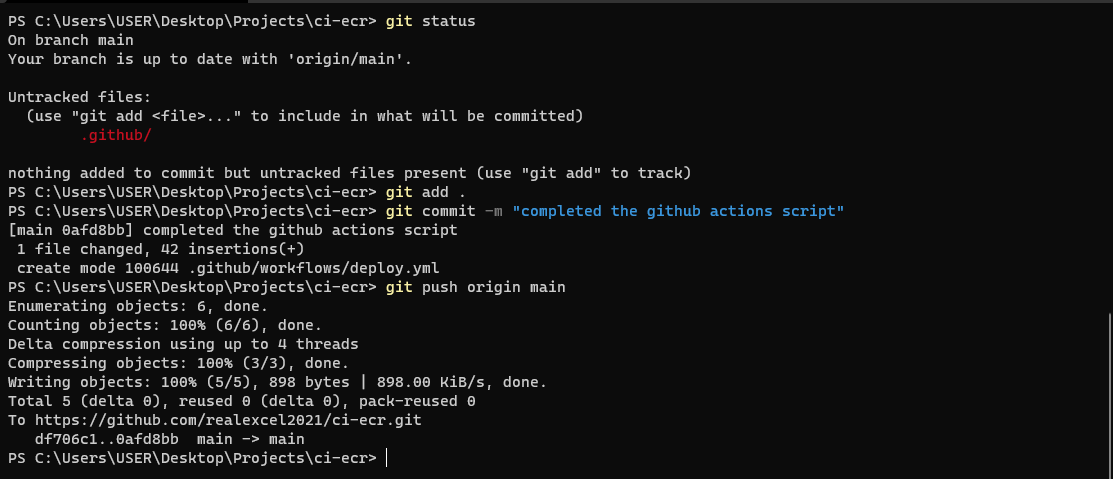
Push to GitHub
Finally, push the changes you have on your local repository to github to trigger the actions.
The pipeline succeeded and successfully built the docker image and pushed the version to ECR.
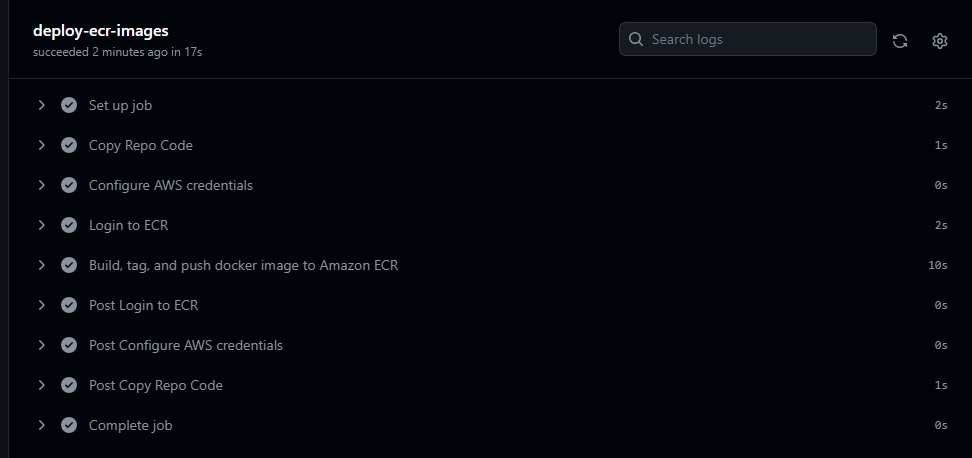
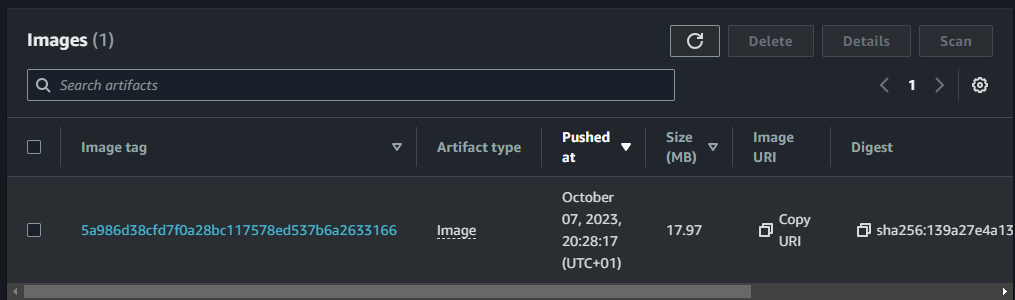
The new version is available in the ECR repository with the image tag as the sha of the commit.
Congrats. You have succesfully integrated a CI pipeline into your ECR repository. You can use this concept to automatically build images and push versions to ECR.


